
Can You Photograph the Northern Lights With an iPhone?
Yes, and far better than most people expect. Any iPhone with night mode will record green bands, and recent models pick up the pink and purple fringes that your eyes cannot see at all.
The single thing that decides whether it works is stability. Night mode uses exposures of several seconds, and a hand-held phone smears the aurora into a green blur every time.
Everything else is refinement. Get the phone still, let Night Mode run long, lock the focus, and the default Camera app does the rest.
Which iPhones Can Do It
Night mode arrived with the iPhone 11, and it is the feature that matters here.
An iPhone 11 or 12 will get you a recognisable aurora on a tripod. The exposure caps are shorter and the noise is heavier, so keep expectations to green bands rather than fine structure.
An iPhone 13, 14 or 15 handles it comfortably, with longer maximum exposures and much better low-light processing. This is where phone aurora photography becomes genuinely good.
The 16 and 17 generations add better sensors again and, on the Pro models, the option to shoot ProRAW at night, which gives you real editing latitude.
Anything older than 11 will struggle. You can still get a smudge of green on a very strong night, and a compact camera would serve you better.
What You Need Besides the Phone
Four things, and only one of them is expensive.
A tripod is the essential item. A small travel tripod with a phone clamp costs very little and is the difference between a photograph and a green smear. Failing that, a bean bag, a wall, a fence post or a car roof all work.
A phone clamp or mount if your tripod does not have one. Buy the cheap metal kind rather than the plastic kind, because plastic goes brittle at 10 below.
A power bank kept in an inside pocket. Cold flattens phone batteries fast, and a phone that shows 40 per cent at the car park can die within an hour outside.
A head torch with a red mode. White light destroys your night vision in seconds and annoys everyone else in the group, and red light lets you see the tripod without resetting your eyes.
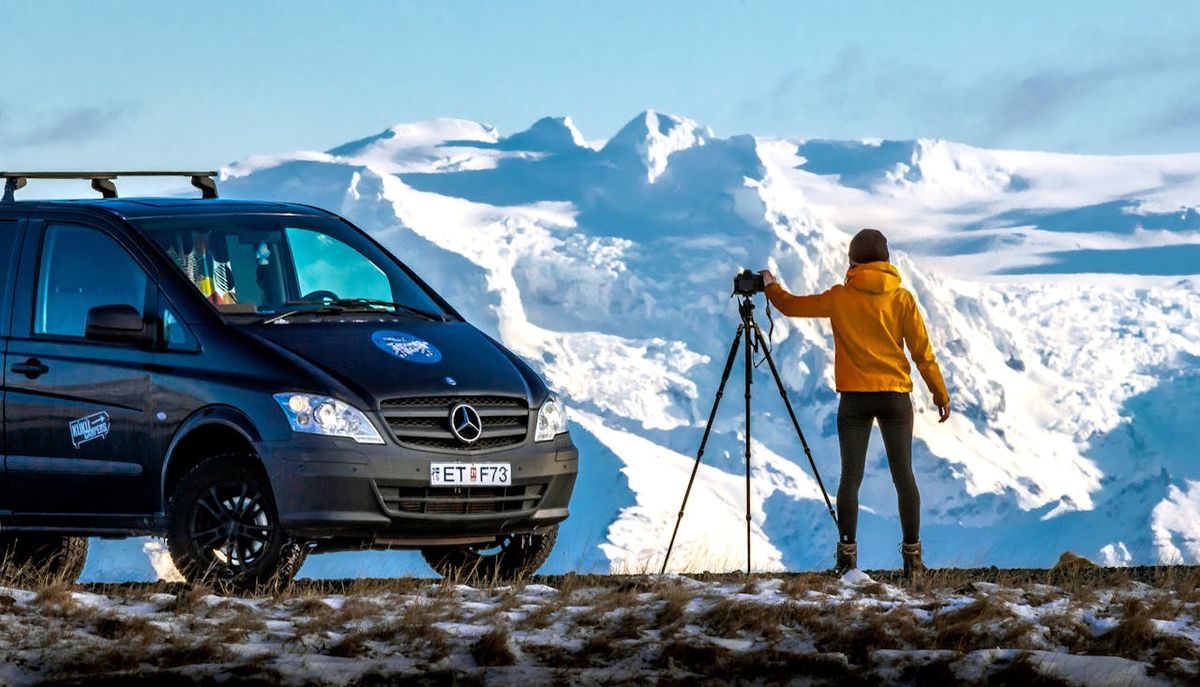
Any stable surface will do. A tripod is easiest, and a car roof or a rock works when you have neither.
Step by Step With the Default Camera App
You do not need a third-party app to get a good result. Here is the sequence.
1. Turn the flash off
Set the flash to off rather than auto. On autopilot, the phone will fire it into the darkness, light up nothing, and ruin both the exposure and your night vision.
2. Use the main 1x lens
The main lens has the largest aperture and the best low-light sensor. The ultra-wide and telephoto lenses are both slower and noisier at night.
Avoid digital zoom entirely. Zooming crops the sensor and multiplies noise, and framing wider than cropping later gives a better result.
3. Let Night Mode Engage
Point the phone at the sky. In darkness the Night Mode icon appears at the top left, usually with a suggested exposure of 1 to 3 seconds.
If it does not appear, the scene is not dark enough, or you have the phone in a mode that disables it. Switch back to photo mode and try again away from any light.
4. Set the exposure length
Tap the night mode icon, and a slider appears above the shutter. Drag it right to extend the exposure.
On a tripod the phone offers longer maximums, often up to 30 seconds. Do not automatically choose the longest, because an aurora moves, and a 30-second exposure of a fast display records a flat green wash with no shape.
5. Lock focus and exposure
Aurora is a poor focus target, and the phone will hunt. Frame a distant light, a mountain ridge or a bright star, then press and hold on it until the AE/AF Lock badge appears.
Once locked, you can recompose freely. Slide your finger up or down on the screen to nudge the exposure brighter or darker without unlocking.
6. Use the timer
Set a 3-second timer so your finger is off the phone before the exposure starts. Tapping the shutter on a lightweight tripod introduces exactly the shake you set the tripod up to avoid.
Choosing the Right Exposure Length
This is where most people get it wrong, and the answer changes with the display.
For a faint, slow arc, use 8 to 15 seconds. There is little movement to blur, and you need the light.
For a moderate display with visible bands, use 5 to 8 seconds. That preserves the shape while gathering enough light.
For a fast, bright display with rapid movement, use 2 to 4 seconds. Anything longer and the structure smears into a featureless green sheet.
Take two or three at different lengths whenever the display changes. It costs nothing, and the aurora rarely repeats itself.
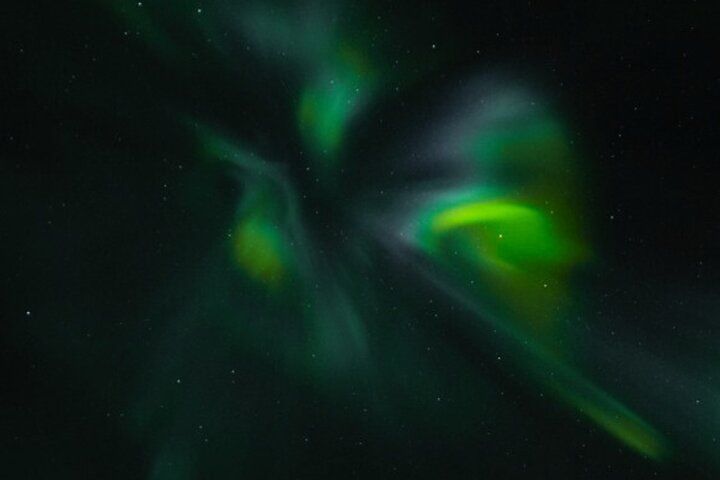
Fast-moving displays need shorter exposures. Fifteen seconds on a night like this records mush.
Composition: The Part Nobody Plans
A sky full of aurora with nothing else in the frame is less interesting than you think.
Put something in the foreground. A mountain outline, a church, a lake edge, a parked car, a person standing still. Scale is what turns a green sky into a photograph.
Use water if you can find it. Still, lakes double the display, and Iceland has plenty of them, which is why Þingvellir National Park is the classic spot from Reykjavík.
Shoot vertically as well as horizontally. Aurora bands often run overhead, and a portrait frame catches the height of a corona in a way a landscape cannot.
Keep the horizon low. Roughly a third land and two-thirds sky is a reliable starting ratio when the display is high.
Third-Party Apps and RAW
The default app is enough for most people. Two situations justify going further.
If you want manual control over ISO and shutter speed independently, apps like Halide or Slow Shutter give it to you. That matters when the automatic processing keeps choosing an exposure you disagree with.
If you have a Pro model, shooting ProRAW keeps far more colour information. Aurora reds and purples are subtle, and a compressed file throws away exactly the data you need to bring them out.
The trade-off is speed. Manual apps take longer to set up in the cold, and the aurora will not wait while you find a menu.
Start with the default app on your first night. Move to something more complex only if you are getting good results and want more.
Editing on the Phone
A few small adjustments do most of the work, and they take a minute in the Photos app.
Lift exposure slightly and pull down highlights. This recovers structure in the brightest part of the display, which is usually the green core.
Increase contrast a little and raise saturation carefully. Aurora photographs are already saturated, and pushing them further turns green into radioactive lime.
Adjust warmth downwards. Night mode often produces a slightly yellow cast, and cooling it gives a more natural sky.
Reduce noise if your phone offers it, and accept some. Any long exposure at high ISO has grain, and heavy noise reduction smears the fine rays that make the picture.
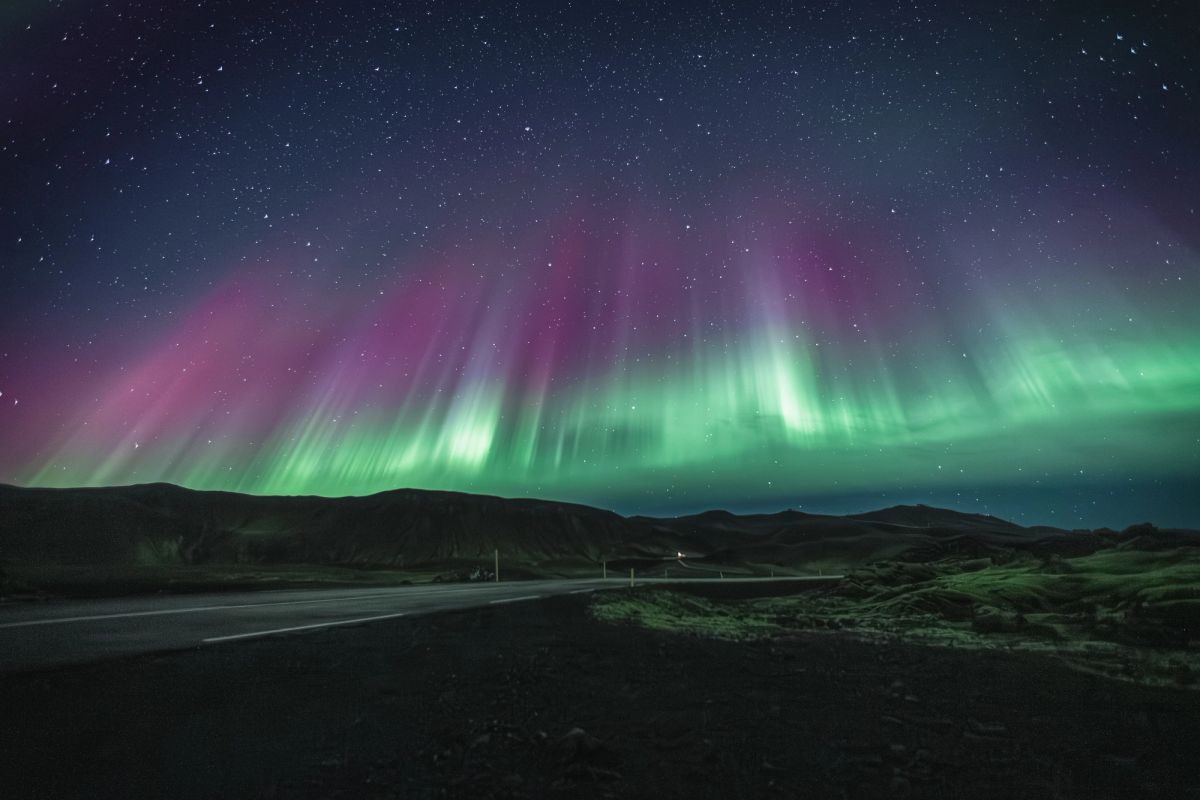
Phone cameras record pink and purple fringes that your eyes will not register at all on the night.
Why Your Phone Sees More Colour Than You Do
This surprises people every time, and it is straightforward physics rather than software trickery.
In the dark your eyes run on rod cells, which detect brightness but almost no colour. That is why a moderate display looks pale grey-green to the naked eye.
A camera has no such limitation. It collects light continuously for the whole exposure and records every wavelength that arrives, so the reds and purples appear in the file.
Those colours are genuinely there. As the Canadian Space Agency explains, green comes from oxygen at 100 to 300 kilometres, while pink and dark red come from nitrogen near 100 kilometres, and both are emitting whether or not your eyes can see them.
Give your eyes 20 minutes to adapt and you will see more than you did at the start. Then check a phone screen and lose it all again in three seconds, which is why the red torch mode matters.
Cold, Batteries and Gloves
Icelandic aurora nights are a hostile environment for a phone, and three problems recur.
Batteries drain fast. At the Golden Circle's nearest Met Office station, monthly climate data puts January's average daily low at 4.3°C below zero, and lithium batteries lose capacity sharply as they cool. Keep the phone in an inside pocket between shots.
Screens do not respond to thick gloves. Buy touchscreen liner gloves and wear mittens over the top, so you can pull the mitten off and still operate the phone without freezing your fingers.
Condensation forms when you bring a cold phone into a warm car or hotel. Put it in a pocket or a bag before you go inside and let it warm up slowly.
Set up before you are cold. Framing, focus lock and timer settings are all much easier at the car park than 40 minutes later with numb hands.
iPhone or a Real Camera?
Both work, and the honest comparison is more favourable to the phone than it used to be.
A phone wins on convenience, on being in your pocket already, and on the automatic processing that produces a usable image with no knowledge required.
A camera wins on noise, on dynamic range, and on the ability to shoot 4 seconds at f/1.8 rather than a computed composite. If you already own a mirrorless camera and a fast wide lens, bring it.
For a single aurora night on a holiday, a phone plus a small tripod is the sensible kit. It weighs nothing, it costs almost nothing, and the results are good enough to print.
If you want the full technical version, our Northern Lights camera settings guide covers apertures, ISO and focusing for dedicated cameras.
Where to Shoot Near Reykjavík
Dark sky is worth more than any setting, and it is 40 minutes away.
Reykjavík's light dome fades at around 20 kilometres, so every stop on the Golden Circle is dark enough. Þingvellir has the lake and the rift walls, Laugarvatn has a lit car park to retreat to, and Gullfoss and Geysir are both open around the clock.
Check the Icelandic Met Office aurora forecast before you drive. It gives activity on a 0 to 9 scale and a cloud map beside it, and the cloud map is the one that decides your night.
Do not shoot towards the city. Even a faint orange glow on the horizon shifts the colour of the whole frame and buries the subtle fringes.
Five Mistakes That Ruin Most Shots
Hand-holding the phone. This accounts for more failed aurora photographs than everything else combined.
Leaving flash on auto. It fires, lights nothing, and wrecks both the exposure and your night vision.
Using digital zoom. It crops the sensor and multiplies noise, and cropping later is always better.
Choosing the longest exposure every time. On an active display, 30 seconds produces a flat green wash with no structure at all.
Checking the screen at full brightness between shots. Turn the brightness right down, or you will spend the whole night unable to see the sky you came for.
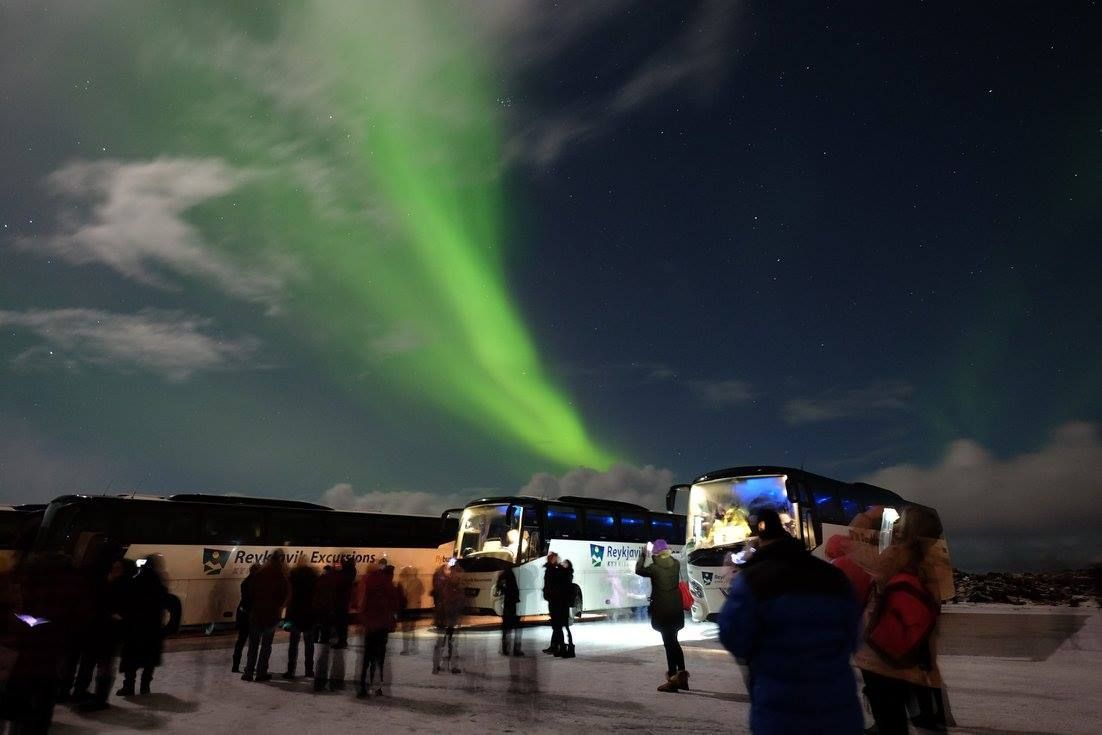
Guided groups stop where the sky is clearest, which is the part of aurora photography you cannot control.
Get Under a Dark Sky First
No setting rescues a cloudy sky, and finding a clear one on an Icelandic night usually means driving. Our small-group Northern Lights adventure goes wherever the cloud map is thinnest, and the guides will happily help you set up a phone on a tripod when you get there. Bring a small tripod and a power bank, and you will come home with photographs rather than memories of a green smudge.
Compare Golden Circle Tours
Check each selected product for its current operator, guide, itinerary, meeting point, and terms.
View Our Tours

